Mobile / WhatsApp
E-mail
Table of Contents
To seal windows with silicone, remove failed old sealant, clean and dry the joint, choose a compatible exterior or neutral cure silicone, control the joint depth with backer rod when needed, apply a continuous bead, tool it before skin-over, and allow proper curing before rain or service use.
Window sealing is not only about filling a visible gap. A good window seal must keep out rain, drafts, dust, and insects while still allowing small movements between glass, frame, wall, trim, masonry, aluminum, PVC, or wood. The correct process depends on whether you are sealing an interior trim gap or an exterior window perimeter exposed to weather.
The proper way to seal a window is to prepare the joint first, then apply silicone in a controlled bead. Silicone should bond to clean surfaces on both sides of the joint, not sit loosely on top of dust, old caulk, wet paint, or crumbling material.
Simple process: inspect the window, remove loose old sealant, clean and dry the surface, add backer rod if the gap is deep, mask the edges, apply silicone, tool the bead, remove the tape, and let the sealant cure.
For exterior windows, use a weather-resistant silicone or suitable exterior sealant that can handle UV, rain, temperature changes, and joint movement. For interior painted trim, silicone may not always be the best choice because most silicone sealants are not paintable. In that case, acrylic, siliconized acrylic, PU, MS, or hybrid sealant may be more suitable depending on the finish requirement.
Interior window sealing mainly focuses on drafts, finishing gaps, dust control, and appearance. Exterior window sealing focuses on rain, UV exposure, wall movement, frame movement, temperature cycling, and long-term weather resistance.
| Window Area | Main Requirement | Sealant Direction | Important Reminder |
|---|---|---|---|
| Interior trim gaps | Neat finish, air draft control, and paintability. | Acrylic, siliconized acrylic, PU, MS, or paintable hybrid sealant. | Most 100% silicone is not paintable. |
| Exterior frame perimeter | Rain resistance, UV resistance, movement, and adhesion. | Exterior-grade silicone, neutral silicone, PU, MS, or hybrid sealant. | Do not seal drainage or weep holes. |
| Glass-to-frame joints | Waterproofing, flexibility, and adhesion to non-porous surfaces. | Compatible silicone sealant. | Use neutral cure silicone for sensitive metals or coated surfaces when required. |
| Wall-to-frame gaps | Weather sealing, movement absorption, and joint depth control. | Exterior silicone, PU, MS, or hybrid sealant with backer rod if needed. | Deep gaps should not be filled with sealant only. |
The biggest difference is exposure. Interior joints are often judged by appearance and paintability. Exterior joints are judged by whether they keep water out over repeated sun, rain, heat, cold, and frame movement.
The right window sealant depends on the substrate, exposure, paintability, movement, and whether the joint is inside or outside. Silicone is often suitable for glass, aluminum, ceramic, and exterior weather sealing, but it is not always the best option for paintable trim gaps.
A strong direction for many window frames, aluminum, glass, coated materials, and exterior joints where lower corrosion risk matters.
Often used on compatible glass or ceramic surfaces, but it may not be suitable for sensitive metals, mirrors, stone, or some coated materials.
Useful when stronger adhesion, paintability, movement capability, or mixed-material construction sealing is required.
Better for dry interior, low-movement, paintable window trim gaps, but not ideal for exposed exterior waterproofing.
For window installation, do not choose sealant only by the word “waterproof.” You should check adhesion to the actual frame and wall material, application temperature, service temperature, UV resistance, movement capability, cure time, and whether the sealant can be painted if needed.
Old failed caulk must be removed before resealing windows. New silicone does not bond reliably to loose sealant, dirt, dust, oil, wet surfaces, soap residue, peeling paint, or powdery masonry.
Inspect the old joint: identify cracked, peeling, missing, moldy, or loose sealant.
Cut the old bead: use a utility knife, caulk removal tool, or scraper suitable for the surface.
Remove loose material: pull out old caulk strips and scrape remaining residue carefully.
Clean the surface: remove dust, grease, old silicone film, dirt, and debris from both sides of the joint.
Dry the joint fully: moisture trapped behind the bead can weaken adhesion and slow curing.
Check the substrate: repair loose paint, cracked masonry, rotten wood, rust, or damaged frame areas before sealing.
Cleaning is especially important around exterior windows. If water has entered behind the old sealant, let the joint dry before applying new material. Sealing over trapped moisture may hide the problem temporarily but can lead to peeling, mold, or repeated leakage.
Backer rod is needed when the window gap is too deep, too wide, or uneven for sealant alone. It controls the sealant depth, reduces material waste, improves bead shape, and helps prevent three-sided adhesion.
| Situation | Use Backer Rod? | Reason |
|---|---|---|
| Deep wall-to-frame gap | Yes | Sealant should not be used to fill a deep void from front to back. |
| Exterior expansion or movement joint | Usually yes | Backer rod helps the bead stretch correctly between two bonding sides. |
| Very small hairline trim gap | Usually no | A thin paintable bead may be enough for dry interior finishing. |
| Large uneven window perimeter gap | Yes | It helps create a consistent sealant depth and reduces sagging or shrinkage problems. |
Backer rod should be slightly larger than the joint opening so it fits snugly. Avoid puncturing closed-cell backer rod during installation, because damaged foam may affect performance. For irregular gaps, choose the rod type and size according to the sealant manufacturer’s guidance.
Window joint width and depth should allow the sealant to bond to both sides and stretch with movement. A bead that is too thin may tear or leave gaps, while a bead that is too deep may cure slowly and move poorly.
For narrow gaps: the sealant still needs enough surface contact on both sides of the joint.
For wider gaps: use backer rod to control depth instead of filling the entire cavity with silicone.
For moving joints: avoid bonding the sealant to the back of the joint; the bead should mainly bond to the two side surfaces.
For exterior gaps: design the bead so water can shed away instead of collecting behind the sealant.
For window drainage: never block weep holes, drainage slots, or designed water paths in the frame system.
For professional window installation, joint dimensions should follow the sealant technical data sheet and the window system design. If the gap is very large, unstable, or connected to a building envelope problem, sealant alone may not solve the leakage.
Masking, application, and tooling decide the final appearance and adhesion of the window seal. A continuous bead must be pressed into the joint and smoothed before the sealant skins over.
| Step | Correct Method | Common Mistake |
|---|---|---|
| Masking | Apply masking tape on both sides of the joint for straight edges. | Leaving tape too long until the sealant skins or tears at the edge. |
| Cutting the nozzle | Cut at about 45 degrees and match the opening to the joint size. | Cutting too large and creating an oversized messy bead. |
| Applying sealant | Move steadily and apply a continuous bead with no skips, gaps, or air pockets. | Stopping and starting repeatedly, leaving weak points in the seal. |
| Tooling | Smooth the bead before skin-over and press it against both bonding surfaces. | Only wiping the surface without forcing sealant into the joint. |
| Tape removal | Remove masking tape soon after tooling while the bead is still workable. | Pulling tape too late and damaging the bead edge. |
For exterior window sealing, apply the bead in dry weather whenever possible. Avoid applying silicone to a surface that is wet, dusty, icy, oily, or too hot from direct sun, unless the product specifically allows those conditions.
Silicone should be protected from rain and water until it has skinned and cured enough for exposure. Many silicone sealants form a surface skin within minutes to hours, but full cure often takes 24 to 72 hours or longer depending on bead thickness, temperature, humidity, and formula.
Practical rule: check the product TDS for rain-ready time, water exposure time, tack-free time, and full cure. Do not treat surface dry as fully cured.
Thin beads cure faster: shallow sealant beads usually cure sooner than deep, thick joints.
Cold weather slows cure: low temperature can extend skin-over and full cure time.
Very dry air can slow moisture cure: silicone needs moisture in the air to cure properly.
Rain too early can damage the bead: water can mark, wash, or weaken the seal before it is ready.
Exterior jobs need planning: check the weather forecast and allow a safe curing window.
For important exterior window sealing, schedule the work when there is enough dry time after application. If rain starts before the bead has skinned, inspect the seal after curing and repair any washed, uneven, or poorly bonded areas.
Window sealant usually fails because the wrong product was used, the surface was not prepared correctly, the joint design was poor, or the sealant was exposed to water or movement before it cured.
| Problem | Likely Cause | Better Practice |
|---|---|---|
| Sealant peels from the frame | Dust, oil, wet surface, old silicone film, or incompatible frame material. | Clean, dry, test adhesion, and use a compatible sealant or primer if needed. |
| Sealant cracks | Wrong material, excessive movement, poor joint depth, or aging. | Use flexible exterior-grade sealant and correct joint design. |
| Water still leaks | Leak source may be flashing, wall, roof, frame drainage, or failed installation. | Find the real water path before applying more sealant. |
| Bead looks messy | No masking, nozzle cut too large, uneven pressure, or late tooling. | Mask the joint, cut a smaller nozzle opening, apply steadily, and tool early. |
| Mold appears | Moisture, poor ventilation, dirt, or wrong sealant in a damp area. | Use suitable sanitary or mildew-resistant sealant where humidity is high. |
Do not solve every leak by adding another bead over the old one. If the original joint is loose, wet, dirty, or poorly designed, the new layer may fail quickly. Removing failed sealant and rebuilding the joint is usually more reliable.
Remove failed old caulk, clean and dry the joint, choose a compatible window sealant, apply a continuous bead, tool it smoothly, and allow proper cure.
Yes, silicone can be used for many glass, frame, and exterior window sealing applications, but the product must match the substrate and exposure.
Use silicone or exterior-grade sealant for weather-exposed joints. Use acrylic or paintable sealant for dry interior trim gaps that need painting.
Backer rod is recommended for deep, wide, or moving joints because it controls sealant depth and helps the bead stretch correctly.
It depends on the product, bead size, temperature, and humidity. Check the TDS; many silicones need 24–72 hours or longer for full cure.
The leak may come from flashing, frame drainage, wall cracks, roof details, or hidden installation defects rather than the visible caulk line.
The final rule is clear: seal windows only after proper surface preparation, choose the sealant by interior or exterior exposure, control deep gaps with backer rod, avoid blocking drainage paths, and let the silicone cure before water exposure.
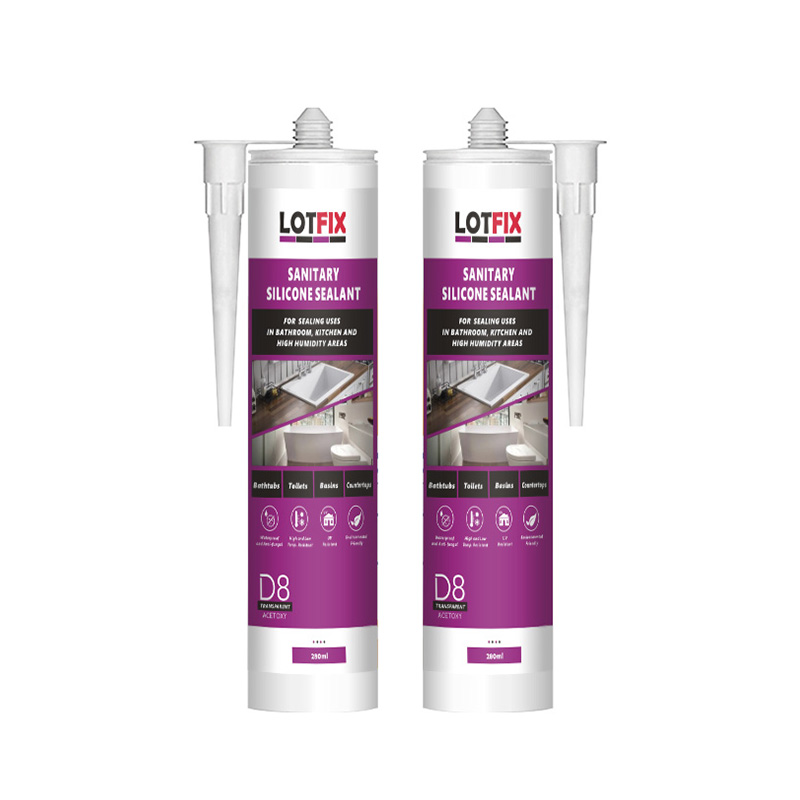
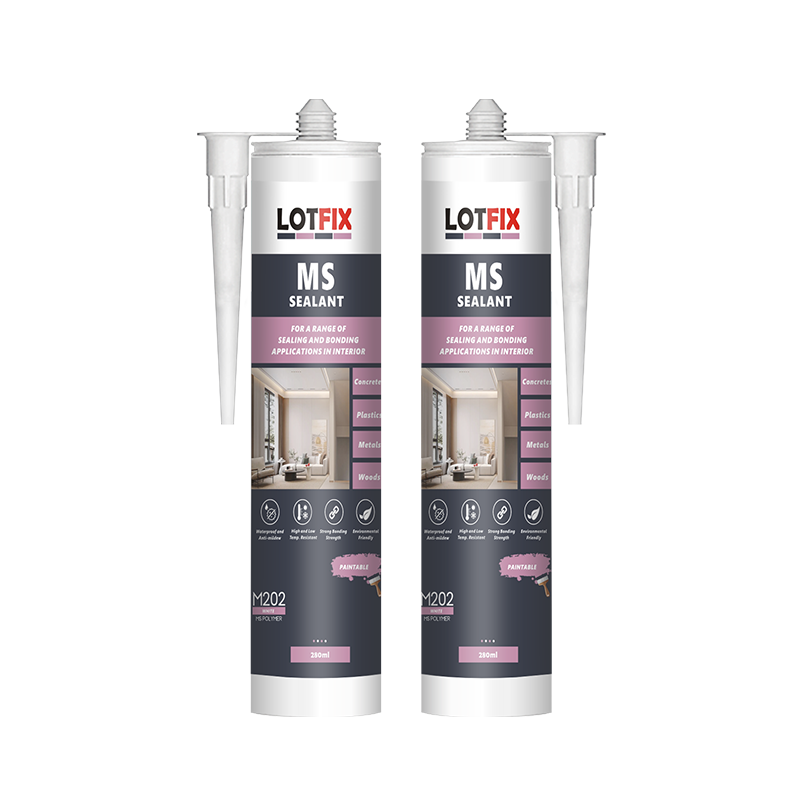
LOTFIX provides silicone sealant, acrylic sealant, PU foam, adhesive, hybrid sealant, PU sealant, caulking tools, and related construction material solutions for sealing, filling, bonding, waterproofing, gap protection, and installation applications. If you are comparing products for window installation, exterior window sealing, aluminum frames, glass joints, doors, bathrooms, kitchens, or general construction sealing, you can visit the LOTFIX homepage to learn more about available product categories.
If you have questions about window sealant selection, silicone application, curing time, product compatibility, or cooperation requirements, please Contact Us.