Mobile / WhatsApp
E-mail
Table of Contents
You usually cannot paint directly over silicone sealant because cured silicone repels paint, so the paint may bead up, crack, flake, or peel without proper preparation.
The question “can you paint silicone” is common because many users apply silicone first and only later realize the joint needs a painted finish. Standard silicone sealant is excellent for waterproof and flexible sealing, but it is not designed to accept normal wall paint. To make the surface paintable, you need a workaround such as high-adhesion primer, a thin layer of paintable caulk over the silicone, or complete removal and replacement with a paintable sealant.
In most cases, you should not paint directly over silicone sealant. Cured silicone has a smooth and water-repellent surface, so ordinary latex paint, wall paint, and many standard primers cannot bond firmly to it.
Simple answer: you can sometimes paint over silicone after special preparation, but the most reliable solution is to use a paintable caulk or paintable sealant instead of standard silicone.
Silicone sealant is still the right choice for bathrooms, kitchens, glass, metal, wet joints, and flexible sealing. The problem appears when the joint also needs to match painted walls, trims, baseboards, or decorative surfaces. In those cases, paintable acrylic latex caulk, siliconized acrylic caulk, urethane sealant, or hybrid polymer sealant may be a better choice.
Paint will not stick well to silicone sealant because cured silicone is hydrophobic, flexible, smooth, and non-porous. Hydrophobic means it repels water, so water-based acrylic latex paint cannot wet the surface properly or form a strong bond.
| Paint Problem | Why It Happens on Silicone | What You May See |
|---|---|---|
| Paint beads up | The silicone surface repels water-based paint. | Uneven coverage, gaps in paint film, or visible separation. |
| Paint peels off | Paint cannot grip the smooth, non-porous silicone surface. | Peeling, flaking, or paint lifting after drying. |
| Paint cracks | Silicone remains flexible, but the paint film may not move with it. | Hairline cracks along the sealant bead. |
| Primer fails | Ordinary wall primer is not made for silicone adhesion. | Primer may scratch off or fail under the topcoat. |
This is why surface preparation is not optional. Without sanding, cleaning, a suitable bonding primer, or a paintable caulk layer, paint on silicone usually fails sooner or later.
Putting paintable caulk over silicone sealant is one of the easiest repair methods when removal is difficult. The idea is to create a new paintable surface over the unpaintable silicone line. This works best on dry, low-movement interior joints where the goal is appearance and paintability.
Clean the silicone surface: remove grease, soap scum, mold, dust, and old surface residue.
Apply a paintable caulk bead: use acrylic latex caulk, siliconized acrylic caulk, urethane sealant, or a suitable hybrid polymer sealant.
Feather the edges: smooth the new bead slightly beyond the edges of the silicone so the paintable layer has better surface coverage.
Let it dry completely: do not paint before the new caulk or sealant has dried according to the product instructions.
Prime and paint if needed: once dry, apply primer or paint based on the caulk manufacturer’s recommendation.
This method is practical for baseboards, trim, wall gaps, and decorative indoor joints. However, it is not the best method for wet areas, shower seams, or moving joints. If the paintable caulk cannot bond well to the silicone underneath, the new layer may peel with the paint.
A high-adhesion bonding primer, shellac-based primer, or specialized silicone primer may help paint bond to silicone sealant. This method is used when you want to paint the existing silicone directly instead of adding another caulk layer.
Use a suitable cleaner to remove oils, dust, mold, soap residue, and sanding powder. The surface must be dry before primer.
Fine-grit sandpaper can create a slightly rougher surface, giving the primer more grip than smooth silicone alone.
Ordinary wall primer may fail. A high-adhesion, shellac-based, or silicone-compatible primer is more suitable.
Apply primer and paint in a small area first, then check adhesion after drying before coating the full joint.
This method can improve results, but it is still not as reliable as using a paintable caulk from the beginning. It is better for small repair areas than for large visible joints that must stay clean for a long time.
Oil-based paint may work better than water-based paint on silicone because it does not rely on water to wet the surface. However, oil-based paint is still not guaranteed to bond permanently to cured silicone sealant, especially on flexible joints.
| Method | Possible Benefit | Main Limitation |
|---|---|---|
| Water-based latex paint | Easy to apply on walls and trims. | Usually beads up or peels on silicone without preparation. |
| Oil-based paint | May wet silicone better than water-based paint. | Still may peel or crack if the silicone moves or the surface is not prepared. |
| Bonding primer plus topcoat | Improves adhesion compared with paint alone. | Still requires testing and may not be permanent on all silicone products. |
Oil-based paint is a workaround, not a universal solution. It may help in some repair cases, but it does not change the fact that cured silicone is difficult to paint. For professional finishing, replacing the silicone with a paintable sealant is usually safer.
The best long-term solution is to remove the silicone sealant and replace it with a paintable caulk or paintable sealant. This gives the paint a surface it can bond to properly and avoids relying on temporary adhesion tricks.
Cut along both edges: use a sharp utility knife to loosen the silicone from the wall, trim, tile, or frame.
Peel away the old silicone: remove as much cured silicone as possible from the joint.
Remove silicone residue: leftover silicone film can block adhesion for new caulk and paint.
Clean and dry the joint: remove dust, oil, moisture, and loose material before re-caulking.
Apply paintable sealant: use acrylic latex caulk for dry indoor trim, or a paintable hybrid or urethane sealant for more demanding areas.
Paint after full drying: follow the sealant instructions for paint-over time and curing conditions.
This method takes longer, but it is the cleanest solution for painted trims, baseboards, wall joints, and decorative areas. Instead of forcing paint onto silicone, you replace the silicone with a product designed to be painted.
To choose a paintable sealant before painting, match the product to the joint environment. Acrylic latex caulk is usually suitable for dry indoor trims and baseboards. Siliconized acrylic caulk can offer improved flexibility for selected interior gaps. Hybrid polymer or urethane sealants may be better where paintability and stronger performance are both needed.
| Project Situation | Better Product Direction | Why It Fits |
|---|---|---|
| Interior baseboards, trims, drywall gaps, and wall cracks | Acrylic latex caulk | Paintable, easy to smooth, and suitable for dry indoor finishing. |
| Baseboards or trims needing slightly better flexibility | Siliconized acrylic caulk | Still paintable in many formulas, with improved flexibility compared with basic acrylic. |
| Bathroom, kitchen, shower, and sink joints | Sanitary silicone sealant | Better for waterproof and mildew-resistant sealing, but usually not paintable. |
| Exterior joints that need painting | Paintable hybrid or urethane sealant | More suitable where weather exposure, movement, adhesion, and paintability must be balanced. |
Prevention is the easiest solution. If the joint will be painted, avoid 100% silicone from the beginning and choose a product designed to accept paint. If the joint is wet and must stay waterproof, use silicone and do not plan to paint it later.
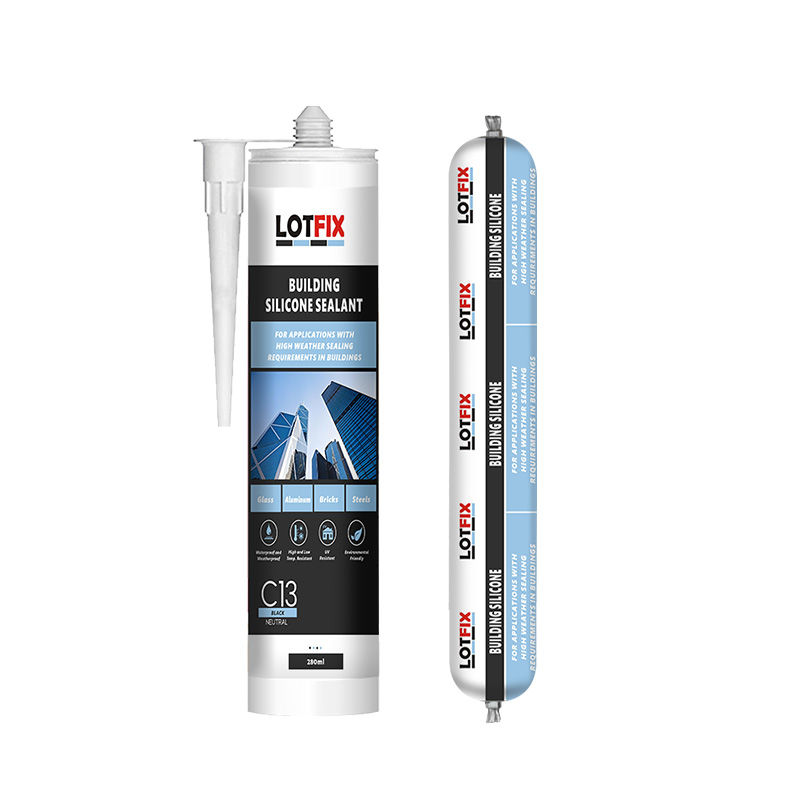
LOTFIX provides silicone sealant, acrylic sealant, PU foam, adhesive, and related construction material solutions for sealing, filling, bonding, insulation, and installation applications. If you are comparing products for painted trims, baseboards, interior wall gaps, bathroom seams, kitchen joints, glass sealing, or general construction use, you can visit the LOTFIX homepage to learn more about available product categories.
If you have questions about product selection, application scenarios, or cooperation requirements, please Contact Us.