Mobile / WhatsApp
E-mail
Table of Contents
The best sealant for kitchen countertops is usually 100% silicone sealant because it stays flexible, resists water, bonds well to many countertop materials, and protects joints from moisture damage.
Kitchen countertop joints face water, cleaning products, food residue, temperature changes, and small movements between different materials. The joint between a countertop and backsplash is not just a decorative line. It is a moisture barrier that helps stop water from entering the wall, cabinet, or substrate below.
For most kitchen countertops, 100% silicone sealant is the best choice for sealing the joint between the countertop and backsplash, around sinks, and along areas exposed to water. It is more suitable than grout or painter’s caulk because it remains elastic after curing.
Simple rule: use 100% silicone sealant for wet, flexible kitchen countertop joints; use acrylic caulk only for dry, paintable decorative gaps.
Countertops are commonly made from stone, quartz, solid surface, laminate, stainless steel, ceramic, or engineered materials. The backsplash or wall may be tile, drywall, glass, metal, or another surface. Because these materials expand, contract, and move differently, the sealant must remain flexible instead of cracking like a rigid filler.
100% silicone sealant is recommended for kitchen countertops because it provides long-term flexibility, strong water resistance, and reliable sealing performance in areas where moisture and movement are common.
Silicone remains rubber-like, so it can stretch and compress when the countertop, wall, or backsplash moves slightly.
Silicone is hydrophobic, so water tends to bead on the surface instead of soaking into the joint line.
Kitchen sinks, backsplashes, and countertop edges are often exposed to splashes, cleaning, and humidity.
The right silicone formula can be used on many countertop and backsplash surfaces, including tile, glass, metal, and selected stone surfaces.
The key advantage is elasticity. A countertop joint may look still, but it experiences small movement from house settling, temperature changes, vibration, and different expansion rates between materials. Rigid fillers cannot handle this movement as well as silicone.
Grout and acrylic caulk are not ideal for kitchen countertop joints because they are less flexible and less water-resistant than 100% silicone sealant. They may crack, shrink, or allow moisture to enter the joint over time.
| Material | Why It Is Limited | Better Use Area |
|---|---|---|
| Grout | Grout cures hard and is not designed to absorb countertop-to-wall movement. | Tile-to-tile joints on the same flat surface. |
| Acrylic painter’s caulk | It is usually designed for dry, paintable decorative gaps, not wet kitchen countertop seams. | Trim, baseboards, wall cracks, and dry interior joints. |
| Siliconized acrylic caulk | It may offer better flexibility than basic acrylic, but it is not always equal to 100% silicone in wet joints. | Selected low-moisture areas where paintability matters. |
| 100% silicone sealant | Not paintable after curing, so the color must be selected correctly before application. | Kitchen countertops, sinks, backsplashes, and wet flexible joints. |
Acrylic caulk may look neat when first applied, but it can shrink, crack, or soften in a kitchen seam exposed to water and cleaning. Grout may also crack where the countertop meets the wall because that joint behaves like a movement joint, not a flat tile joint.
To choose the right silicone sealant for kitchen countertops, look for 100% silicone, kitchen and bathroom suitability, mildew resistance, surface compatibility, color match, and any required performance or food-contact information.
Choose 100% silicone: this is usually the safest direction for flexible, wet countertop joints.
Look for kitchen and bathroom use: these products are commonly formulated for wet areas and may include mildew-resistant additives.
Check surface compatibility: confirm suitability for quartz, granite, marble, ceramic, glass, stainless steel, laminate, or the exact countertop material.
Select the right color: silicone cannot be painted after curing, so choose clear, white, black, gray, or a matching color before application.
Review food-contact information when needed: for areas near food preparation, check whether the cured sealant meets relevant food-contact requirements stated by the manufacturer.
Check performance standards: standards such as ASTM C920 may help confirm sealant movement and performance grade where required.
Not every silicone product is the same. A general-purpose silicone may not be the best choice for natural stone, food-adjacent areas, or high-humidity kitchen seams. For porous stone such as marble, limestone, or some granite surfaces, use a stone-compatible silicone or test first to reduce staining risk.
To apply sealant around kitchen countertops, remove old sealant, clean and dry the joint, mask both sides, apply a continuous silicone bead, tool it before skin-over, and remove the tape immediately after smoothing.
Remove old sealant: cut away old silicone, caulk, or loose filler. New silicone does not bond well to dirty or failing material.
Clean the surface: remove grease, soap residue, dust, food stains, and cleaning chemical residue.
Wipe with a suitable cleaner: isopropyl alcohol or a compatible degreaser can help clean many non-porous surfaces, but always check material compatibility first.
Dry completely: trapped moisture can weaken early adhesion and lead to poor sealing performance.
Apply masking tape: tape both sides of the joint to create a clean, consistent sealant line.
Cut the nozzle at 45°: make the opening slightly smaller than the joint width for better control.
Push the bead into the joint: hold the gun at a steady angle and apply even pressure so the sealant fills the gap.
Tool before skin-over: smooth the bead within the working time, often within several minutes, to create a concave and well-bonded finish.
Remove tape immediately: pull the masking tape while the sealant is still fresh to avoid tearing the bead edge.
Allow proper curing: keep the joint dry and avoid cleaning, stress, or heavy water exposure until the sealant has cured as instructed.
Good application is just as important as product selection. A clean, dry, well-tooled silicone bead bonds better, looks cleaner, and helps stop moisture from getting behind the countertop or backsplash.
The most common kitchen countertop sealing mistakes are using rigid grout, using painter’s caulk in wet joints, applying sealant on damp surfaces, exposing the joint to water too early, and using standard silicone on sensitive stone without checking compatibility.
| Mistake | Why It Causes Problems | Better Practice |
|---|---|---|
| Using grout at the countertop-backsplash joint | Grout is rigid and may crack when the countertop and wall move differently. | Use flexible silicone sealant for this transition joint. |
| Using acrylic painter’s caulk | It is not designed for constant moisture and may shrink or crack. | Use 100% silicone for wet kitchen seams. |
| Applying sealant on a damp surface | Moisture can block contact between silicone and the substrate. | Clean and dry the surface before sealing. |
| Using the sink too soon | Early water exposure can damage the bead or weaken curing. | Follow the manufacturer’s cure time before water exposure. |
| Using standard silicone on natural stone | Some products may stain porous stone or leave edge discoloration. | Choose stone-safe silicone or test in a hidden area first. |
Most countertop sealant failures come from poor material selection or rushed preparation. Silicone performs best when it is applied to a stable, clean, dry, and compatible surface.
Different kitchen joints need different sealing materials. For most wet and flexible countertop joints, 100% silicone sealant is the preferred choice, while acrylic caulk is mainly for dry decorative gaps.
| Application Area | Recommended Product Direction | Reason |
|---|---|---|
| Countertop meets backsplash | 100% silicone sealant | Flexible and water-resistant for a movement-prone transition joint. |
| Sink edge and countertop joint | Kitchen and bathroom silicone sealant | Suitable for splash zones and moisture exposure. |
| Stone countertop joints | Stone-compatible silicone sealant | Reduces staining risk on porous natural stone. |
| Painted trim near countertop | Paintable acrylic or hybrid sealant | Better when paintability matters and water exposure is limited. |
| Tile backsplash joints on the same flat surface | Grout | Grout is suitable for flat tile-to-tile joints, not movement transitions. |
The best result comes from matching the sealant to the joint. Use silicone where water and movement are expected. Use grout only for flat tile-to-tile joints. Use acrylic caulk only where the joint is dry, decorative, and needs to be painted.
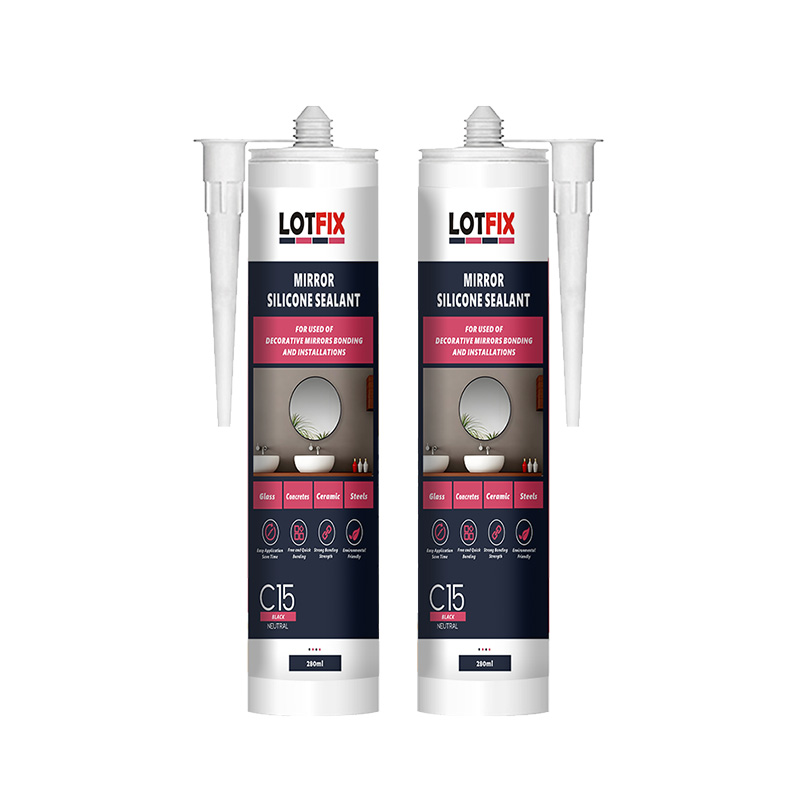
LOTFIX provides silicone sealant, acrylic sealant, PU foam, adhesive, hybrid sealant, and related construction material solutions for sealing, filling, bonding, insulation, and installation applications. If you are comparing products for kitchen countertops, sink edges, backsplash joints, bathroom seams, tile corners, or general construction sealing, you can visit the LOTFIX homepage to learn more about available product categories.
If you have questions about silicone sealant, kitchen countertop sealing, product selection, surface compatibility, or cooperation requirements, please Contact Us.